The Ultimate Mince Pie Recipe for a Taste of Britain

Ingredients
For the pastry:
225g plain flour, plus extra for dusting
50g lard, cold and diced
50g unsalted butter, cold and diced
1 tsp caster sugar
Pinch of salt
Ice-cold water, to mix
For the mincemeat:
100g suet or vegetable suet
175g raisins
175g currants
50g mixed peel
1 small Bramley apple, peeled, cored and finely chopped
Zest and juice of 1 orange
Zest and juice of 1 lemon
50g flaked almonds, toasted
1 tsp ground cinnamon
½ tsp ground mixed spice
50g soft light brown sugar
50ml brandy or rum (optional)
To glaze:
1 egg yolk, beaten with 1 tbsp milk
Icing sugar, for dusting (optional)
Pastry
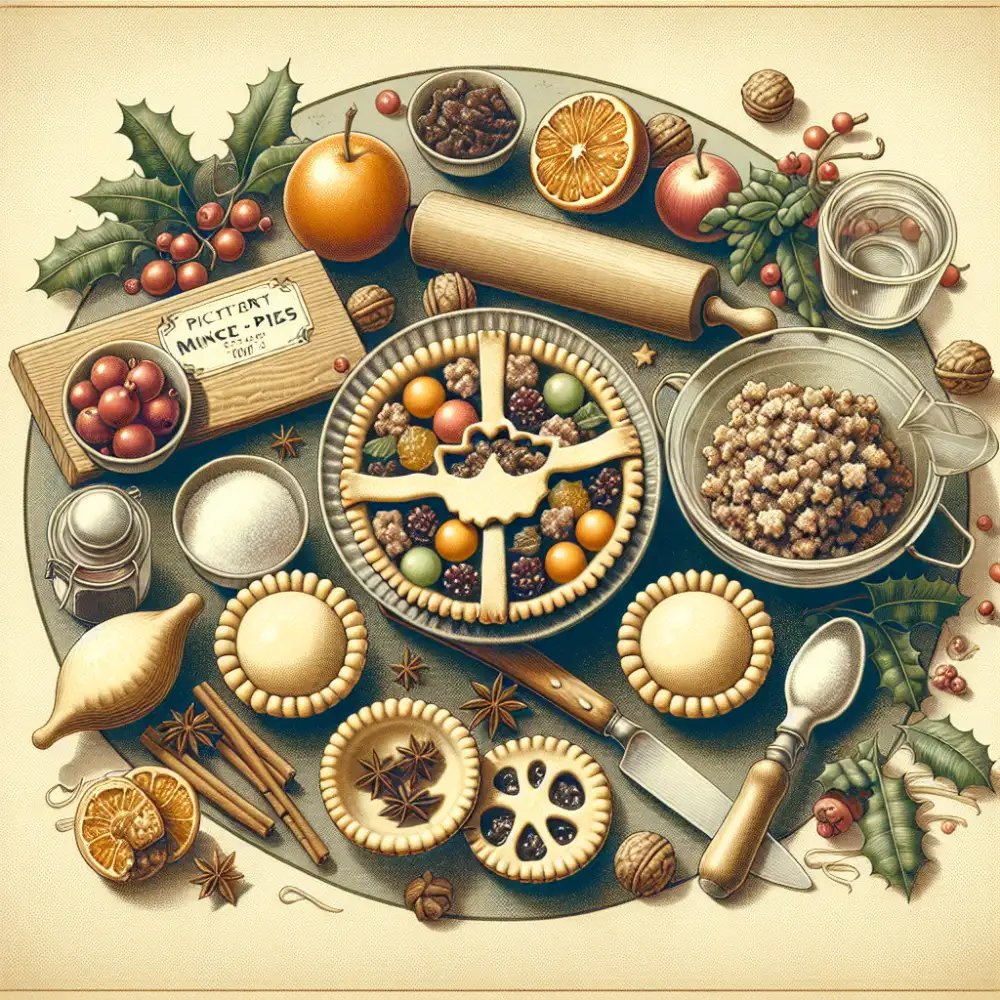
The history of the mince pie is a rich and storied one, dating back to the Middle Ages. These small pies were originally filled with a mixture of minced meat, suet, fruits, and spices, and were often served during the Christmas season.
The pastry for these early mince pies was typically made with flour, butter, and water, and was quite sturdy in order to hold the hearty filling. The pastry was rolled out and used to line small pie dishes, and the filling was then added. The pies were then baked in a hot oven until the pastry was golden brown and the filling was cooked through.
Over the centuries, the recipe for mince pies has evolved, but the basic principles have remained the same. Today, mince pies are still a popular Christmas treat in many parts of the world, and are enjoyed by people of all ages.
Here are some of the key characteristics of traditional British mince pie pastry:
- Rich and buttery: The pastry should be made with a high proportion of butter to flour, which gives it a rich, buttery flavor and a tender texture.
- Crumbly: The pastry should be crumbly, but not too crumbly. It should hold its shape when baked, but should also melt in your mouth.
- Slightly sweet: The pastry is often slightly sweetened, which helps to balance out the richness of the filling.
If you're looking for a truly authentic British mince pie experience, be sure to use a traditional pastry recipe. Your taste buds will thank you!
Mincemeat
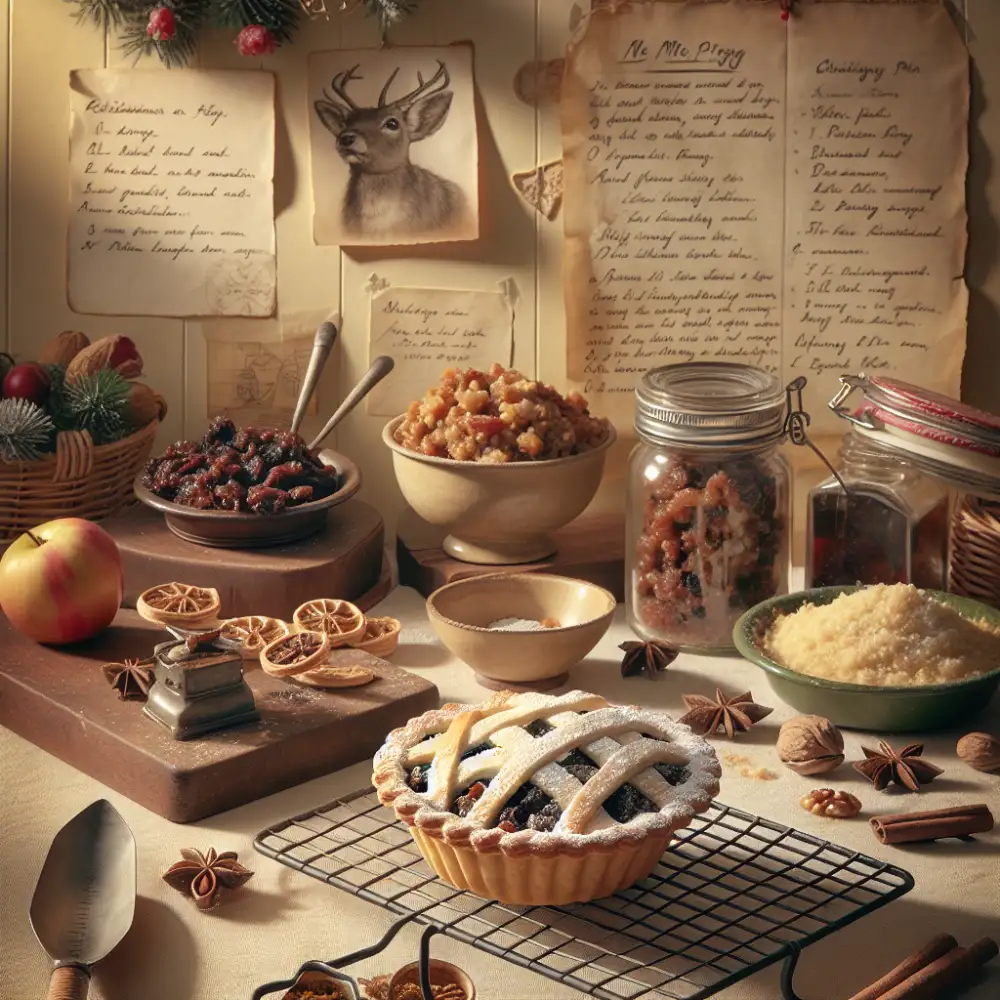
Mincemeat is a rich, fruity mixture traditionally used as a pie filling. Despite its name, traditional mincemeat does not actually contain meat anymore. The name is a throwback to its origins in medieval times, when mincemeat was a savory dish made with minced meat, suet, fruits, and spices.
Over time, the savory elements were phased out, and mincemeat evolved into the sweet treat we know today. Modern mincemeat primarily consists of chopped dried fruits like raisins, currants, and apricots, along with chopped nuts, brandy or other alcohol, spices like cinnamon and nutmeg, and suet or butter.

The combination of flavors matures and melds over time, making mincemeat even more delicious as it ages. This makes it a perfect holiday tradition, as it can be made weeks in advance and used to bake delicious mince pies throughout the festive season.
While commercially produced mincemeat is readily available, many people enjoy making their own from scratch. This allows for customization of ingredients and alcohol, resulting in a truly unique and personal touch to your holiday baking.
Whether you prefer it store-bought or homemade, mincemeat is a delicious and festive filling for pies, tarts, and other holiday treats. Its rich history and evolving recipe make it a fascinating and delicious part of culinary tradition.
Assembling
Once your delightful mincemeat is ready, it's time for the grand assembly of these festive treats. Preheat your oven to 400 degrees Fahrenheit (200 degrees Celsius). This ensures a nice, even bake for your pies. Next, roll out your pastry dough on a lightly floured surface. Aim for a thickness of about 1/8 inch—thin enough to be delicate, but not so thin that it tears easily. Now, grab your trusty cookie cutters. Use a round cutter to create the bottom crusts of your mince pies. Gently press these rounds into your prepared muffin tins. Fill each pastry case with a generous spoonful of your prepared mincemeat. Don't be shy—a heaping spoonful ensures a deliciously fruity bite. For the top crusts, you have options. You can use the same round cutter to create simple lids, or get creative with festive shapes like stars or Christmas trees. If you're feeling fancy, use a sharp knife to cut delicate patterns into the pastry. Place your chosen top crusts over the mincemeat filling, gently pressing the edges to seal. If you're using pastry lids, cut a small vent in the center to allow steam to escape during baking. For an extra touch of golden-brown goodness, brush the tops of your pies with a beaten egg or a splash of milk. Pop your assembled mince pies into the preheated oven and bake for approximately 20-25 minutes. They're ready when the pastry is golden brown and the filling is bubbling enticingly. Once baked, allow your mince pies to cool slightly in the tin before transferring them to a wire rack to cool completely. While they're cooling, prepare the finishing touch—a dusting of icing sugar. This adds a touch of sweetness and festive flair. And there you have it—perfectly assembled mince pies, ready to be devoured with a cup of tea or a festive tipple.
| Feature | Traditional Recipe | Modern Adaptation |
|---|---|---|
| Primary Filling Ingredient | Suet, Chopped Dried Fruits, Spices | Butter, Chopped Dried Fruits, Spices |
| Alcohol Used | Brandy or Rum | Brandy, Rum, or Orange Liqueur |
| Top Crust | Pie Crust | Pie Crust, Crumble Topping, Puff Pastry |
Baking
Baking a mince pie is a joyous occasion, especially during the festive season. The aroma of buttery pastry mingling with the rich, spiced filling is enough to entice anyone into the kitchen. But before you dive in, let's ensure your pies emerge from the oven golden, flaky, and utterly irresistible.

Firstly, understand your oven. Every oven has its quirks, so preheating thoroughly is crucial. Use an oven thermometer to double-check the temperature for consistent results. While the oven heats, prepare your baking sheets. Line them with parchment paper or silicone baking mats to prevent sticking and ensure even browning.
Now, the moment of truth: placing those carefully crafted pies into the oven. For even baking, ensure adequate spacing between each pie on the baking sheet. This allows for proper heat circulation. Keep a watchful eye on your pies as they bake. The baking time can vary depending on your oven and the size of the pies.
A good rule of thumb is to check for a golden-brown crust. The filling should be bubbling slightly at the edges. If the edges of the pastry brown too quickly, loosely cover them with foil to prevent burning. Once baked, resist the urge to dig in immediately. Allow the pies to cool slightly on a wire rack. This allows the filling to set and prevents a molten surprise upon the first bite.
Remember, baking is a labor of love. Don't be disheartened if your first batch isn't perfect. With practice and these tips, you'll be baking beautiful, mouthwatering mince pies that are sure to impress.
Serving
Mince pies are best served warm, which allows their aromas to truly shine and the pastry to become flaky and melt in your mouth. There are several ways to warm your mince pies:
- Oven: Preheat your oven to 350°F (180°C) and bake for 10-15 minutes, or until heated through.
- Microwave: Heat on high for 15-20 seconds per pie. Be careful not to overheat, as the filling can become very hot.
- Air Fryer: Preheat your air fryer to 325°F (160°C) and cook for 5-7 minutes, or until warmed through.
Once warmed, allow the mince pies to cool slightly before serving, as the filling will be very hot.
For an extra touch of indulgence, serve your mince pies with a dollop of brandy butter, clotted cream, or vanilla ice cream. The cool, creamy texture of these accompaniments contrasts beautifully with the warm, spiced filling of the mince pies.
Traditionally, mince pies are enjoyed during the Christmas season, but their delicious flavor can be savored any time of year. Whether you're hosting a holiday gathering, enjoying an afternoon tea, or simply craving a sweet treat, mince pies are sure to satisfy.

Published: 20. 06. 2024
Category: Food


